How to make an audio guide, step by step
The complete method for museums, heritage sites, churches, wineries and towns: from choosing the stops and writing for the ear to recording, translating, printing QR codes and measuring what visitors listen to.
- By
- By Muvo Editorial Team
- Last updated
- 7 min read
- 7 min read
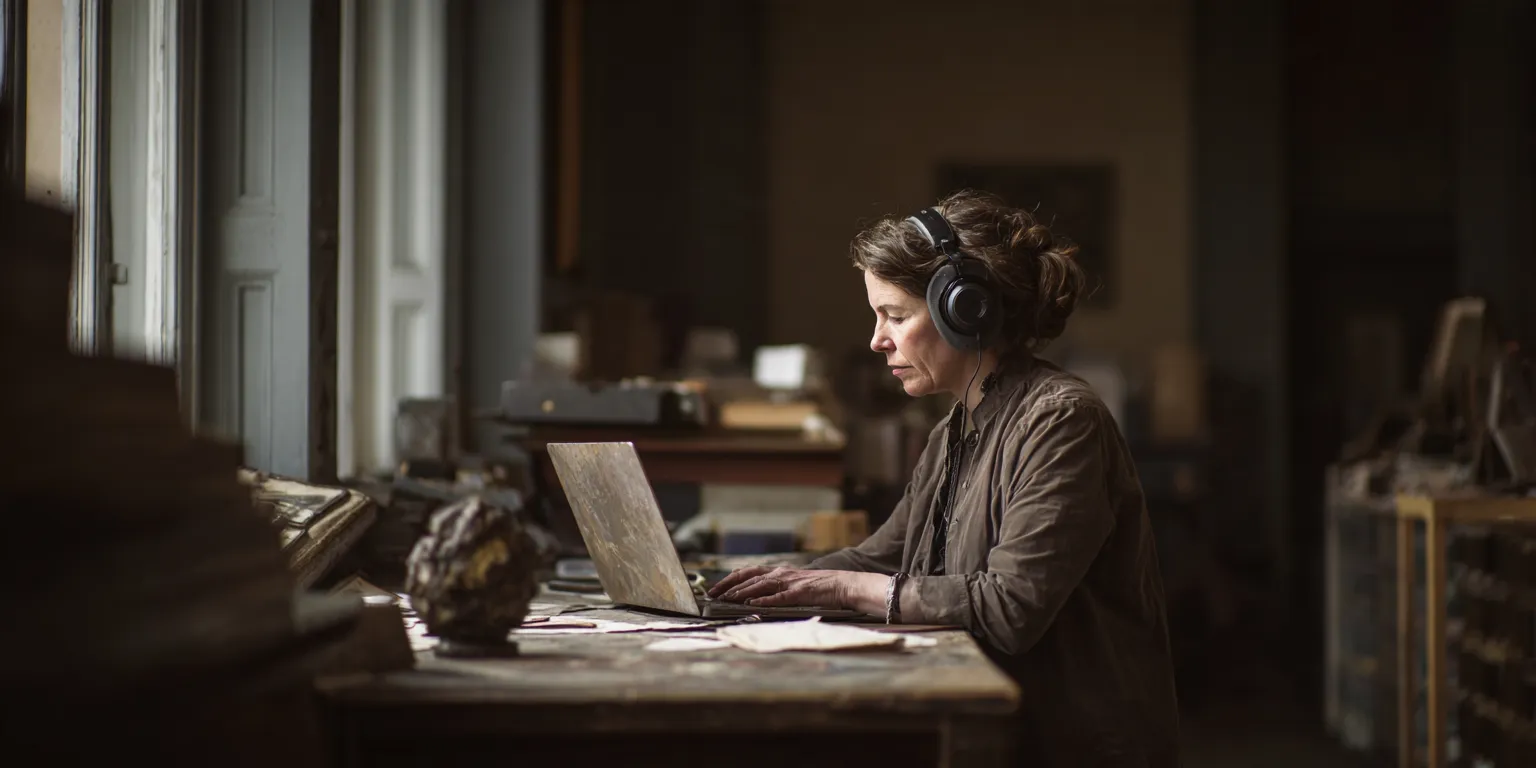
To make an audio guide, you choose a route of stops, write a short script for each one, record it or generate it with a voice, add the languages you need and give each stop a QR code that visitors scan with their phone. A small team can publish a first version in an afternoon; what takes time is writing well, not the technology.
This guide walks through the whole process in seven steps. It works for a museum, a castle, a church, a winery, a nature trail or a walking tour, and each step links to a deeper guide when you need more detail.
What an audio guide is today
For decades an audio guide meant a handset rented at the desk, with numbered tracks you typed in as you walked. That model still exists, but most new audio guides now play on the visitor's own phone.
There are three ways to deliver one:
| Format | How visitors listen | Main trade-off |
|---|---|---|
| Handsets | A device lent at the desk | Cost of devices, charging and staff time |
| App | An app downloaded from a store | Very few visitors download it |
| Browser, opened by a QR code | The phone's camera opens a web page that plays the audio | Needs a signal or Wi-Fi on site |
The third format is the one this guide focuses on, because it is the cheapest to run and the quickest for visitors: they scan, it plays. If you are still weighing the options, audio guide vs app compares them in detail.
Step 1: Set the goal, the audience and the route
Before writing a word, answer three questions.
- Who is listening? First-time tourists, local families, school groups, specialists. The same painting needs a different stop for each.
- What should they leave with? Two or three ideas you want every visitor to remember, not a list of facts.
- How long is the visit? A 45-minute visit cannot hold 40 minutes of audio. People also walk, look and talk.
Then draw the route. Walk it yourself, with a stopwatch, and mark where people naturally pause: a doorway, a view, a key object. Those pauses are your stops.
How many stops?
For most venues, between 8 and 25 stops works well. Around 20 stops of about 90 seconds add up to 30 minutes of audio, which is a full visit for most people. A winery tour might need 8, a cathedral 12 and a large museum 25 with an optional deeper layer. How many stops should an audio guide have? gives examples by type of venue.
Step 2: Write each stop
Writing is where an audio guide succeeds or fails. A stop is not a wall label read aloud: it is written for the ear, in short sentences, with one idea and a reason to look.
A simple structure for a 90-second stop:
- Hook. A question or a detail that makes people look up.
- Look. Tell them where to look: "On the left, near the window…"
- Story. The one thing worth knowing, told as a story, not a list.
- Context. One sentence that links it to the bigger picture.
- Bridge. A line that sends them on to the next stop.
Ninety seconds is around 180 to 220 words at a natural pace. Look2Innovate, which makes audio guide equipment, recommends 120 to 150 words per minute for narration, slower than everyday speech.
Read the stop aloud before you move on. If you run out of breath, the sentence is too long. Our full guide on how to write an audio guide script covers the method, and script examples shows complete stops you can learn from.
Start from what you already have: catalogue entries, guided tour notes and leaflets. Rewrite them for the ear instead of starting from a blank page.
Step 3: Record or generate the voice
You have three options, and you can mix them.
- Record it yourself. Your own voice, or a colleague's, carries authenticity. A quiet room and a phone held at the right distance are enough for clear speech. How to record audio guide narration with your phone explains the room, the distance and the most common mistakes.
- Hire a professional voice. Worth it for a flagship tour, but every later change means a new session.
- Use an AI voice. Natural-sounding voices can now read a script in many languages and accents. They make updates instant and are the practical choice when you need several languages. AI voices for audio guides covers when they work and when a human is better.
In Muvo you can do all three in the same guide: record a paragraph in the browser with a teleprompter, use your phone as the microphone, or give the paragraph an AI voice. Muvo cleans up background noise, evens out the volume and trims the silences.
Step 4: Translate and review
Every language you add widens your audience, but only if the translation reads naturally. Translate for the ear too: short sentences, names pronounced the way locals say them, cultural references explained.
There are two ways to do it:
- Translate by hand, paragraph by paragraph, next to the original, and record it in that language.
- Translate with AI, then have a native speaker read it once before you publish.
Choose the languages from your own data: ticket sales by country, tourism office figures or simply the languages your desk staff hear most. Starting with three is better than launching ten that nobody has checked. Multilingual audio guides covers voices, accents and reviews.
Step 5: Print the QR codes
Each stop gets a QR code. Visitors point their phone's camera at it and the stop opens in the browser, with no app to install.
A few rules that save problems later:
- Print the code large enough to scan from where people stand: at least 10 × 10 cm for a reading distance of around one metre is a common recommendation.
- Add a short line of text: "Scan to listen · 1:30 · 4 languages".
- Use codes that stay the same when you change the content, so you print once.
- Put a short web address next to the code for anyone whose camera does not read it.
QR code audio guides explains how they work, and QR codes in museums covers sizes, materials and placement.
Step 6: Publish and test on the floor
Publishing is the easy part. Testing is what most teams skip.
Walk the route with a phone you have never used on site, on mobile data, not Wi-Fi. Check that every code scans from where people stand, that the first second of audio plays quickly, and that the volume works in the noisiest room. Ask two people who have never seen the guide to try it and watch, without helping.
Fix what you find and publish again. On a platform like Muvo, a fixed sentence goes live the moment you publish: the QR codes on the wall do not change.
Step 7: Measure what visitors listen to
Once the guide is live, look at the numbers every month:
- Listens per stop. Which stops do people skip?
- Completion. Do they listen to the end, or leave after 30 seconds?
- Languages. Which ones are used, and which ones are missing?
A stop that people abandon halfway is usually too long or starts too slowly. Shorten it, move the hook to the first sentence and check again next month.
How long does it take?
For a small team writing in-house, a realistic plan looks like this:
| Task | Time for 10 stops |
|---|---|
| Choose the route and the stops | Half a day |
| Write the scripts | Two to four days |
| Record or generate the voice | A few hours |
| Translate and review two languages | One to two days |
| Design and print the signs | One day |
| Test on the floor | Half a day |
The technology takes minutes. Most of the time goes into writing and reviewing, which is where the quality comes from. The audio guide project plan turns this into a week-by-week checklist.
What it costs
You can make a complete audio guide without spending anything: on Muvo's Zero plan you write, record yourself, translate by hand and publish 10 stops for free, with no time limit. You pay only if you want AI voice and translation beyond the free credits, or more stops, languages and visitors. How much does an audio guide cost? compares every option.
Common mistakes
- Reading the wall label. Visitors can read it themselves; the audio should add what the label cannot say.
- Stops that are too long. After two minutes, attention drops. Split long stops into a main stop and an optional deeper one.
- No instruction to look. If the audio never says where to look, people stare at their phone.
- Tiny QR codes. A code that does not scan from a step away is a code nobody uses.
- Never updating. A guide that mentions an object that left two years ago loses trust.
Key takeaways
An audio guide is a route of short stops, each written for the ear and opened with a QR code.
Aim for 8 to 25 stops of around 90 seconds, about 180 to 220 words each.
Record yourself, hire a voice or use AI; mix them where it makes sense.
Test on the floor with a new phone on mobile data before you launch.
Measure listens and completion every month and fix the stops people abandon.
Frequently asked questions
Do visitors need an app to listen?
No. With a QR audio guide, the phone's camera opens the stop in the browser. Nothing to download and no sign-up.
How long does it take to make an audio guide?
The technology takes minutes. Writing and reviewing ten good stops usually takes a small team a few days.
Can I make an audio guide with no budget?
Yes. You can write the stops, record them in your own voice and publish them on a free plan such as Muvo's Zero, with no card required.
How long should each stop be?
Around 60 to 120 seconds. Ninety seconds, about 180 to 220 words, is a good default for most stops.
Can I change the audio guide after it is published?
On a QR platform, yes: you edit the text or the audio and publish again, and the QR codes on the wall stay the same.
Drafted with AI assistance; researched, edited and fact-checked by the Muvo team.